Fun with Autostitch : Panoramic video
Using Autostitch, images can be embedded into a background panorama. Here, we use this process to make a stitched panoramic movie.
Step 1. Record a background panorama
I made a movie of my lounge room using a Panasonic NS-DV50A digital video (DV) camera. I captured this to DV-AVI format, then used VirtualDub to de-interlace and convert frames to JPEG images.
I took a couple of overlapping pans around the room. Next I selected every 10th frame and made the background panorama using Autostitch:
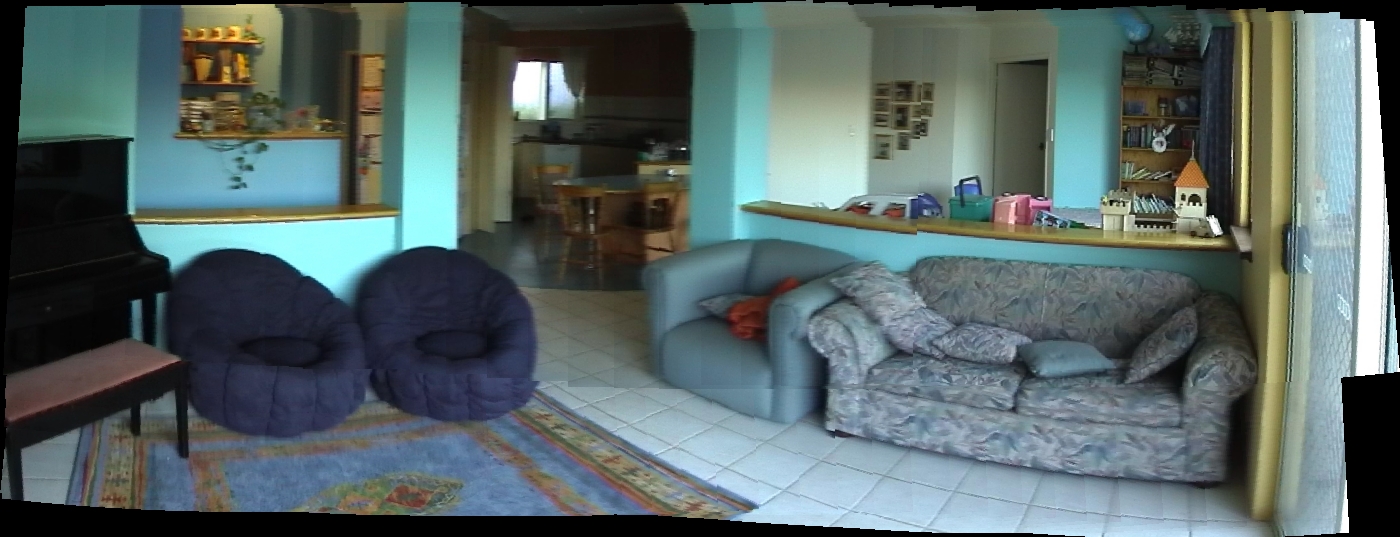
Panorama generated from video using Autostitch
Step 2. Record some action
Next, I took some video of the kids playing in the room. Again, I de-interlaced and converted the frames to JPEG images. You can see this video in the output below.
Step 3. Stitch frames against panorama
Here's the tricky part. We want to take each frame of the video, and stitch it together with all of the frames for the background panorama. This will generate one panorama per input frame, which we will then combine to produce the output.
The catch is that Autostitch is a GUI application. Doing this by hand using the GUI is way too time consuming, so I wrote a program to control Autostitch via a batch process.
This produces images with a fixed width but variable height. I resized these to a consistent size.
Step 4. Convert panoramas to movie
Next, I loaded the panorama image sequence into VirtualDub and converted it to a movie file. Additionally, I combined the panoramic image with the original movie, and exported these frames as a movie.
Results
Here is the stitched panoramic movie (top) with the input movie (bottom):
I tried to stretch the capabilities of the matching by doing some zooms and rotations with the camera. Towards the end of the movie is a section where the matching breaks down because there is probably too much transformation of the image. Although the SIFT should be able to handle this, there may be orientation-dependent differences in the characteristics of the features that cause it problems. This is due to the de-interlacing of the original image, which means that scan lines are duplicated so the detail in the horizontal and vertical directions are not the same.
Overall, I'm pretty happy with the result. Its not perfect, and could probably be improved with some specific support for this sort of thing. We are asking Autostitch to do a few things it was not designed to do. Basically, we don't want to re-stitch the entire panorama for each new foreground frame. We want the background to be stable, but can be more lenient when stitching the foreground frame. Also, with specific knowledge about which frame should go on top, it should be possible to smoothly blend the frames without losing the foreground.
Being able to embed video into a panorama suggests interesting possibilities for immersive media browsing environments based on 3D panoramas. See: "Browsing personal media archives with spatial context using panoramas".